1
Capture method
Video capture
Record one continuous or carefully paced walkthrough.
Still-photo sequence
Take individual photos from planned positions.
Video to 3D
realityscan from video is a practical way to use recorded footage as the source for a 3D reconstruction. Instead of planning every still image manually, you capture a steady path around the subject and let overlapping frames provide the visual coverage needed for geometry and texture.
A video contains many overlapping viewpoints, but the quality of the final reconstruction depends on how consistently those viewpoints cover the subject.
Video capture
Record one continuous or carefully paced walkthrough.
Still-photo sequence
Take individual photos from planned positions.
Video capture
Built into adjacent frames when movement is steady.
Still-photo sequence
Must be planned and checked between each image.
Video capture
Requires slow movement and limited subject motion.
Still-photo sequence
Allows more deliberate pauses and repositioning.
Video capture
Efficient for large objects and simple paths.
Still-photo sequence
More deliberate but easier to inspect as you go.
Video capture
May need unsuitable or blurred frames removed.
Still-photo sequence
Each image can be reviewed before processing.
Video capture
Walkarounds, environments, sculptures, and quick capture.
Still-photo sequence
Small details, controlled lighting, and repeatable documentation.
Video capture
Blur, exposure shifts, and uneven pacing can reduce detail.
Still-photo sequence
Gaps between viewpoints can create incomplete surfaces.
The useful transformation is not simply video in and mesh out. Good coverage gives the reconstruction process enough consistent visual evidence to connect surfaces and preserve recognizable detail.
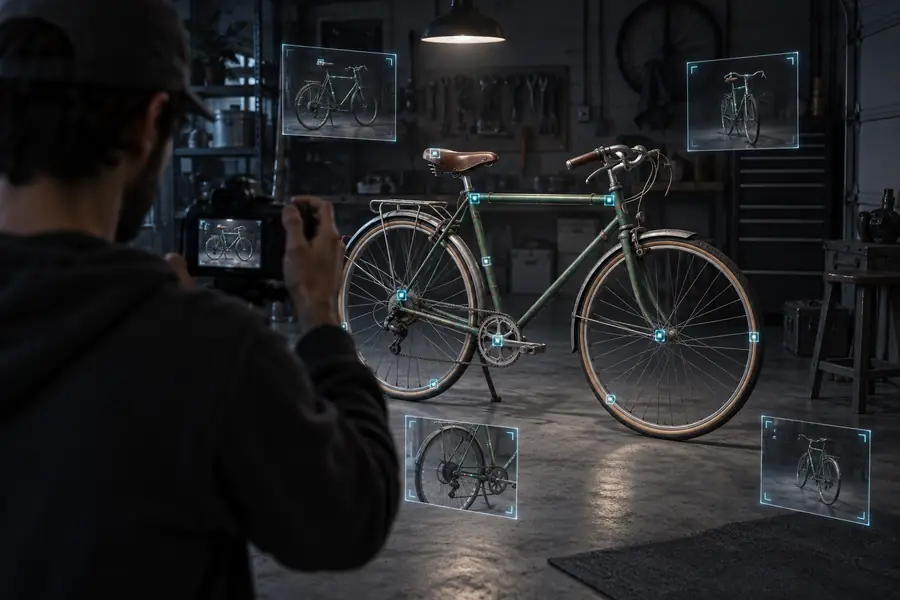
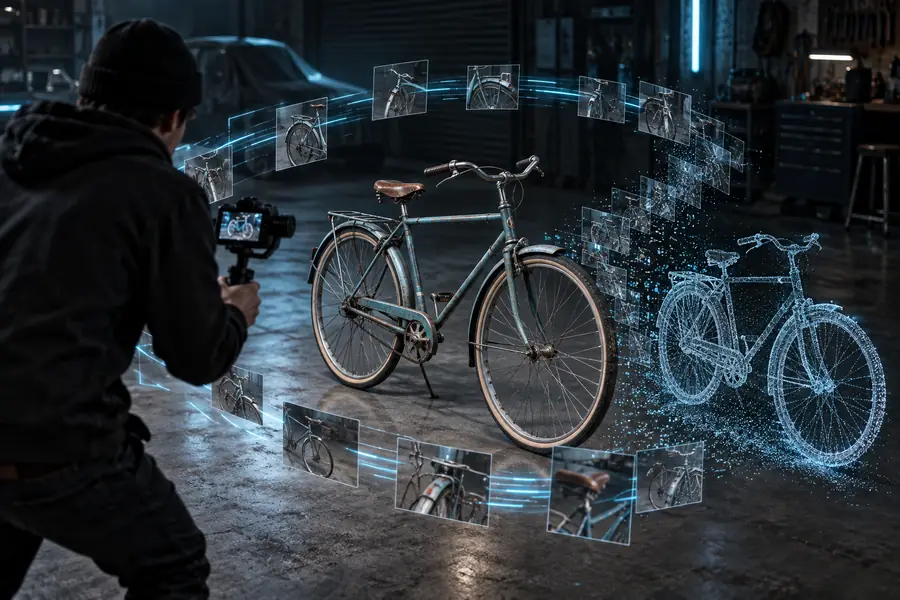
Capture consistency is the bridge between the two states.
Choose the capture style that matches the subject, then refine the result for its intended destination.
Record a slow walk around a physical object with full coverage of its visible sides.
Use the resulting mesh as a starting point for cleanup, scaling, and print preparation. See the practical workflow in realityscan for 3d printing.
realityscan for 3d printingCapture rocks, props, or surface references while moving at a consistent distance.
Create a useful reference or asset base for a scene, then compare capture choices in realityscan examples.
realityscan examplesFilm a landmark, sculpture, or site when carrying a camera is easier than setting individual shots.
Preserve visual coverage for later reconstruction and follow the broader realityscan tutorial for capture habits.
realityscan tutorialStart with a simple object and a short, controlled video rather than a complex environment.
Learn the core workflow before choosing an online capture surface through realityscan online free guidance.
realityscan online freeThese numbers describe the capture logic, not a guaranteed processing result. The exact outcome depends on subject texture, lighting, motion, and coverage.
Keep the path simple and make each stage intentional so the reconstruction has consistent evidence to work from.
Choose a subject with visible features, even lighting, and enough space to move around it. Decide how you will cover the top, sides, and difficult rear areas.
Move slowly at a consistent distance while keeping the subject in frame. Avoid rapid pans, heavy blur, sudden exposure changes, and unnecessary zooming.
Inspect the footage for gaps or unusable motion, then process the strongest coverage into a model. Check the surface for holes, noise, and texture misalignment.
Use the slider as a simple planning aid. It estimates how many minutes of footage and review time a capture session might require, not a guaranteed processing duration.
Answers to common questions about using recorded footage as the input for a 3D reconstruction.
A video can provide a sequence of overlapping views that may be used as source imagery for reconstruction. The result depends on extracting or accepting suitable frames and on the consistency of the recording.
Use a steady recording with the subject kept in frame, even lighting, and a slow path around the object. Avoid blur, fast pans, changing distance, and moving subjects whenever possible.
For a full object, walk around it or follow a path that exposes its sides and top while maintaining a similar distance. A single viewpoint usually leaves hidden surfaces without enough visual information.
It can be a useful starting point, but the reconstructed model should be checked before printing. Inspect scale, watertightness, holes, thin areas, and surface noise, then repair the mesh in a suitable modeling tool.