The first-time scanner
You want to capture a small statue, prop, or household object without guessing where to stand next.
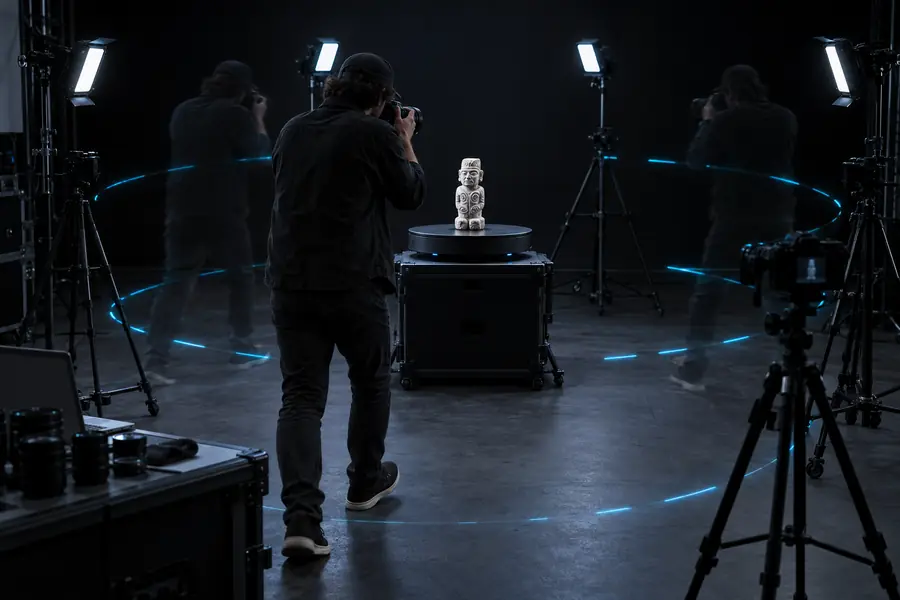
A simple orbit keeps the subject framed, improves overlap, and makes missing areas easier to spot.
what is a realityscanCapture field guide
This realityscan tutorial turns a loose set of photos into a repeatable capture routine. Learn what to photograph, how to move around a subject, and how to judge the result before you spend time refining it.
One-line value
A reliable RealityScan session is less about taking hundreds of random pictures and more about giving the reconstruction consistent visual evidence from every side.
You want to capture a small statue, prop, or household object without guessing where to stand next.
A simple orbit keeps the subject framed, improves overlap, and makes missing areas easier to spot.
what is a realityscanYou need a digital reference for a physical part, ornament, or figurine before repairing or reproducing it.
A careful capture gives you a useful starting mesh, while later cleanup handles holes, loose geometry, and scale checks.
realityscan for 3d printingYou have a steady walkaround clip but limited time to pause for individual photographs.
You can evaluate whether footage provides enough changing viewpoints and visible detail for a workable reconstruction.
realityscan from videoYou are documenting a sculpture, architectural detail, or outdoor object for reference and presentation.
Consistent lighting, a complete orbit, and a quick review create a more dependable record than a few isolated views.
realityscan examplesStep-by-step
Use the same sequence each time: prepare the subject, gather overlapping views, then inspect the reconstruction before calling the session finished.
Choose a stable object with visible texture and enough space to walk around it. Remove distracting items, keep the lighting as even as possible, and decide which parts must be visible in the final model. Reflective, transparent, or very plain surfaces need extra care because they provide weak visual landmarks.
Begin with a broad pass around the subject, keeping a similar distance and height while aiming for clear overlap between neighboring views. Move slowly enough to avoid blur, vary your height for top and lower surfaces, and pause for difficult details instead of rushing past them. A complete orbit is more valuable than a dense cluster of nearly identical frames.
Let the reconstruction reveal what the capture actually recorded. Look for gaps, floating fragments, warped edges, and areas where the camera path changed too abruptly. If an important face is missing, return to capture it from several connected angles rather than trying to solve every defect in editing.
Capture checklist
This side-by-side view helps explain why preparation and continuity matter more than simply increasing the number of images.
Guided capture
Stable object, clear background, predictable lighting
Rushed capture
Object moves, clutter remains, lighting changes
Guided capture
Slow, even orbit with deliberate height changes
Rushed capture
Fast movement with abrupt jumps between viewpoints
Guided capture
Neighboring views share recognizable details
Rushed capture
Views are isolated or nearly identical
Guided capture
Front, sides, top, and difficult lower areas are planned
Rushed capture
Only the easiest visible face is recorded
Guided capture
Soft and consistent across the full pass
Rushed capture
Strong glare, deep shadow, or changing exposure
Guided capture
Gaps and artifacts are checked before export or cleanup
Rushed capture
The first visible mesh is accepted without inspection
Guided capture
Add connected views to repair a specific weak area
Rushed capture
Add random images and hope the defect disappears
Result check
The difference between an unfinished capture and a useful reconstruction usually appears in coverage, continuity, and the visibility of important surfaces.
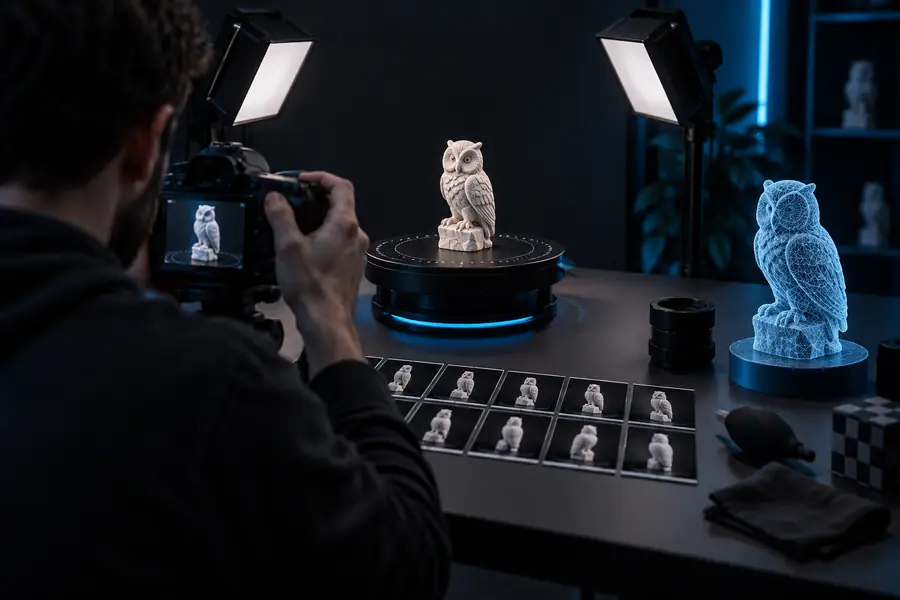
A model can look complete from one angle while still containing hidden gaps. Rotate it, inspect its underside, and check the areas that matter to your use case.
Workflow rhythm
These are not quality guarantees; they are practical checkpoints that keep a RealityScan session focused from setup through review.
Limits and edges
A RealityScan tutorial can improve your process, but no capture workflow can recover visual information that was never recorded.
Glass, polished metal, and wet surfaces can reflect changing surroundings instead of stable texture. The reconstruction may drift, break apart, or fill the area with unreliable geometry.
WorkaroundChange the lighting, reduce reflections where appropriate, or use a temporary matte treatment that is safe for the object.
Blank walls, smooth plastic, and repeating patterns give the alignment process few unique landmarks. Images can be difficult to connect even when the subject is fully visible.
WorkaroundAdd visual context around the subject, improve soft lighting, and capture distinctive neighboring details without obscuring the object.
A model cannot faithfully reconstruct the back of an object, its underside, or an interior space that the camera never sees. Later editing may close a hole but cannot recreate exact detail.
WorkaroundReposition the subject, safely elevate the camera, or plan a second connected pass for the missing area.
Moving people, leaves, fabric, and changing shadows can appear in different positions across the source views. Those changes may become ghosts, noise, or warped geometry.
WorkaroundWait for calmer conditions, stabilize the subject, and discard frames where motion or blur dominates the important detail.
Quick answers
The essentials are simple: capture connected views, inspect the result, and repeat only where the evidence is weak.
Start with a stable subject in even light and make a slow, complete orbit around it. Keep the subject framed consistently, overlap neighboring views, and add higher or lower angles for surfaces that a level pass cannot see. Review the reconstructed model before moving on.
Photograph the subject from connected viewpoints rather than collecting a few isolated hero shots. Include its edges, top, lower areas, and any distinctive details that help one image align with the next. If a feature is important to the final model, give it several clear views.
There is no universal image count because the subject, camera distance, texture, and required detail all change the answer. Aim for complete coverage and useful overlap instead of chasing a number. A smaller, sharp, consistent set can be more useful than many blurred or repetitive frames.
Holes usually indicate that a surface was not visible often enough, while warped areas can come from blur, reflections, motion, or weak overlap. Inspect the defect, then add a connected group of views that clearly shows the missing surface. If the surface itself is transparent or featureless, a better capture setup may be necessary.
Video can be useful when it provides steady, sharp, changing views of the subject, but a moving clip is not automatically equivalent to a well-planned photo set. Check for blur, exposure shifts, and repeated angles before relying on it. For difficult subjects, deliberate still captures may give you more control over coverage.