Print preparation

RealityScan for 3D printing: turn real objects into printable models

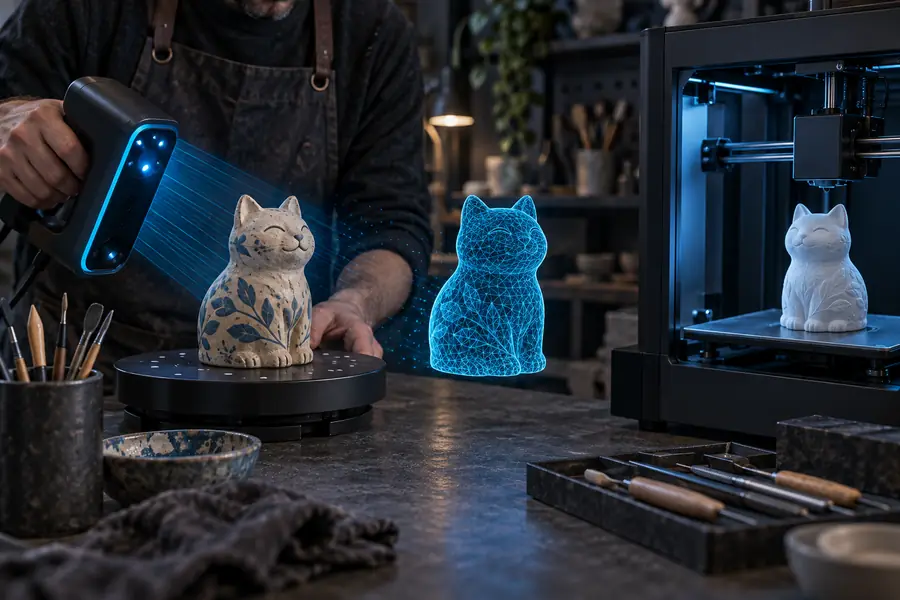
RealityScan for 3D printing gives makers a practical path from photographed object to inspected mesh. Capture carefully, check the geometry, then prepare the result for your slicer or modeling workflow.

Free to start · no signup

Where physical objects become difficult to print

A physical object can look complete in photos while the reconstructed mesh still has holes, loose geometry, hidden surfaces, or the wrong scale. These related guides help you choose the right capture and cleanup path.

Three concrete workflows for print projects

The best RealityScan workflow depends on the object, the amount of surface access, and how much dimensional accuracy the final print requires.

Replacement-part maker

You need a rough replacement for a broken knob, bracket, cover, or enclosure but no CAD drawing exists.

Scan the surviving part for reference, rebuild critical dimensions in CAD, and use the mesh as a shape guide instead of trusting every edge as exact.

realityscan tutorial

Miniature and prop designer

You want to reproduce a sculpted prop or small decorative object with organic curves that are slow to model by hand.

Capture the object from overlapping angles, inspect the underside and thin features, then close gaps and orient the mesh before slicing.

realityscan examples

Heritage and art fabricator

A fragile sculpture or relief needs a non-contact digital reference for a replica, study model, or exhibition piece.

Use controlled lighting and consistent coverage to create a reference mesh while preserving the original object for dimensional comparison.

what is a realityscan

Workshop prototyper

You are testing how a new printed part will fit around an irregular pipe, tool, enclosure, or hand-shaped object.

Capture the surrounding form, align the mesh with your design, and print a fit-check prototype before committing to a refined model.

realityscan online free
Three concrete workflows for print projects

Treat scanning as the start of the modeling process, not as a one-click replacement for measurement, repair, and print preparation.

Capture overlapping coverage

Walk around the object slowly and keep neighboring photos visually connected. Add extra views for the underside, deep recesses, thin walls, and texture-poor areas.

Inspect and repair the mesh

Look for holes, floating fragments, noisy edges, self-intersections, and parts that were never visible to the camera. Remove unwanted surroundings and keep a clean object boundary.

Orient, scale, and slice

Set a known dimension where accuracy matters, choose a stable print orientation, add supports or a base when needed, and preview the sliced layers before printing.

From scan to example output

A successful print workflow has a small number of deliberate checkpoints. The numbers below describe the working sequence, not guaranteed software results.

Capture, inspect, and prepare the mesh
3 stages
Geometry quality and real-world scale
2 checks
A repaired model sent to the slicer
1 handoff

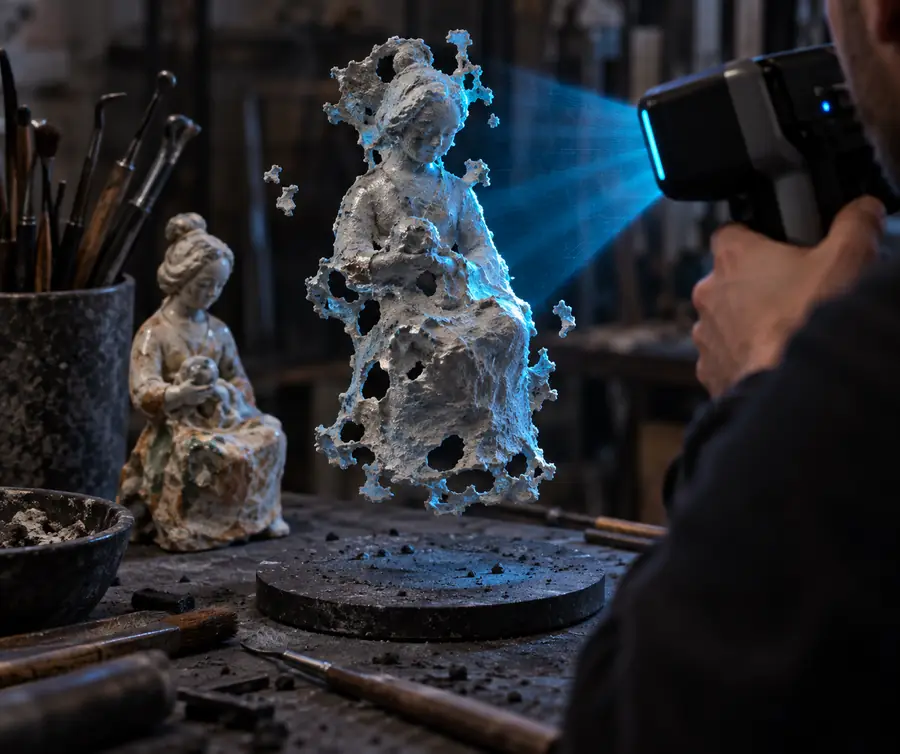
From rough capture to print-ready reference

The scan is valuable when it becomes an understandable, manageable object rather than a raw photographic reconstruction.

Raw reconstruction

Rough reconstructed object mesh before cleanup
Cleaned and oriented model prepared as a print reference
Prepared model

The final result still needs inspection, scale control, and slicer checks before fabrication.

Compliance notes for physical output

RealityScan can support a print workflow, but the reconstructed mesh and the printed part are not automatically equivalent. Use the comparison below to decide what still needs human review.

Captured mesh Prepared print model
1

Primary purpose

Captured mesh

Visual reference for the photographed object

Prepared print model

Geometry organized for modeling or slicing

2

Scale

Captured mesh

May have no reliable real-world dimension

Prepared print model

Uses a known measurement or deliberate scale setting

3

Surface coverage

Captured mesh

Reflects only what the camera could see

Prepared print model

Missing areas are repaired, redesigned, or excluded

4

Geometry quality

Captured mesh

Can include holes, noise, fragments, or overlaps

Prepared print model

Checked for visible defects and print-risk areas

5

Thin features

Captured mesh

May be incomplete or too fragile to reproduce

Prepared print model

Thickened or redesigned when the material requires it

6

Print orientation

Captured mesh

Not selected during capture

Prepared print model

Chosen for strength, supports, and surface quality

7

Dimensional accuracy

Captured mesh

Suitable for reference unless independently verified

Prepared print model

Validated against measurements where fit is important

8

File handoff

Captured mesh

Requires cleanup before fabrication

Prepared print model

Ready for a slicer preview or further CAD work

Compliance notes for physical output

Know what this route cannot promise before you commit a scan to a functional or safety-sensitive part.

It cannot see hidden surfaces

A camera-based reconstruction cannot recover areas blocked by the object itself, including deep cavities and contact points.

WorkaroundCapture the object in separate positions, scan removable parts independently, or model hidden geometry from measurements.

It cannot guarantee engineering accuracy

A visually convincing RealityScan mesh may still be unsuitable for a tight tolerance, mating interface, load-bearing component, or safety-critical replacement.

WorkaroundMeasure critical dimensions, rebuild them in CAD, and test a low-cost prototype before final fabrication.

It cannot remove print constraints

Overhangs, fragile walls, trapped supports, anisotropic strength, shrinkage, and material limits still affect the finished part.

WorkaroundSet print orientation deliberately, add supports or thickness, and review the slicer preview layer by layer.

It cannot establish ownership or permission

Scanning an object does not automatically grant permission to reproduce, sell, distribute, or publish the resulting model.

WorkaroundObtain the appropriate rights and avoid reproducing protected designs or sensitive objects without authorization.

Scenario FAQ

Answers for the common question behind this workflow: can a photographed object become something you can actually print?

Yes. You can capture overlapping photos of an object, reconstruct a 3D mesh, inspect and repair it, then export or prepare it for a slicer. The scan usually needs cleanup, scale control, and print-orientation decisions before fabrication.

RealityScan can provide the reconstructed geometry used as the starting point for a printable model. Direct printing should not be assumed, because holes, unseen surfaces, non-manifold areas, scale, and thin features may still need correction.

Objects with visible texture, stable surfaces, and access from several angles are usually easier to reconstruct. Matte, detailed, medium-sized objects tend to be more cooperative than transparent, reflective, very dark, or highly symmetrical subjects.

It may be useful as a reference for a replacement part, especially when the shape is irregular and no CAD file exists. For a part that must fit precisely, measure the critical interfaces and rebuild or verify them in CAD before printing.

Start scanning
Start scanning